While it is now almost May, and I actually started this bench last August, I only recently made the cushion to complete it. Soon after moving into our apartment, I knew I wanted to buy something to put in our entryway. Preferably a bench and a secretary. Jas (probably wisely) suggested I not buy any furniture just to accommodate our current space when we don’t know how long we’ll be staying. So when I saw an idea on Pinterest to make a bench out of an old twin bed frame, I thought it’d be a great idea to try. Especially since I knew my mom had a few twin beds hanging around I could snag for free.
In August, Jas and I went camping with my mom and step-dad up north in Vermont. I convinced my mom to bring me one of the bed frames that I thought would work great for my plan. A few weeks later, my dad came out to Boston to visit us, and I thought it’d be a great project for the two of us! The first task for the project was to sand down the frame, because I wanted a darker wood to match our living room. This was the part of the project that I disliked the most, partially because sanders are quite loud and hard on the arm, but mostly just because it’s time consuming. I think to do the best job, we probably should have sanded the pieces more than we did, but my dad and I decided that taking off the shine of the wood was good enough for us.
After looking at the bed frame we had, we quickly realized that we couldn’t build the bench the way it was done in the example I found. They used the slat at the bottom of the headboard and footboard to lay the seat, with the top of the footboards for the arms. However, the gap on the headboard and footboard on my bed frame did not match up, and if we had cut the legs off the headboard to make them match, we’d have a child’s height bench. So after much discussion, our new plan was to cut off the curved part of the footboard, and lay the seat on top of that. Luckily I had bought a jigsaw for a different project, the circular saw I already had just wouldn’t cut it for this type of work! Off we went to Home Depot to buy wood for the seat, long screws to hold it together, and wood plugs to cover them, hopefully making our final product look more professional as a result.
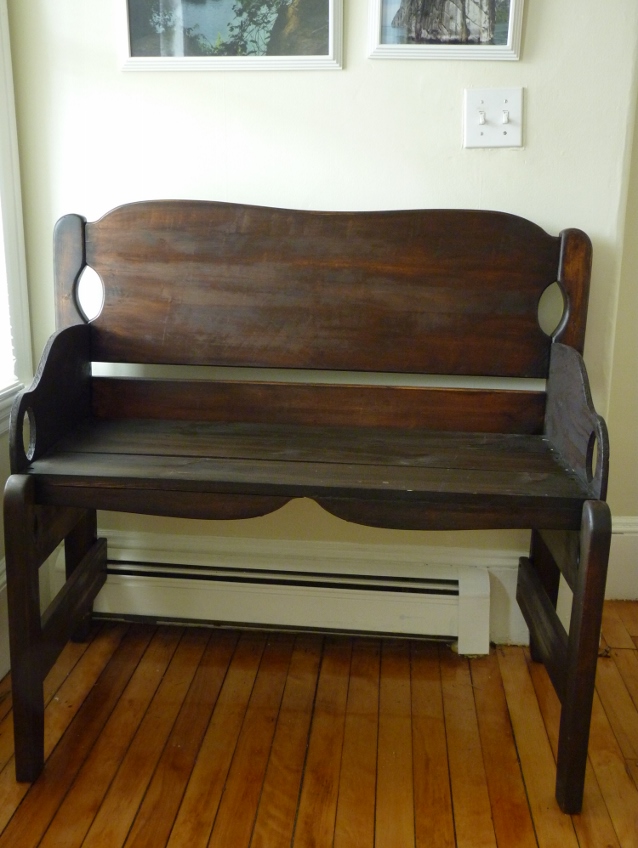
After putting the headboard and footboard together, we realized the bench looked a little silly with no arms. While it’s not the best wood, we were a bit tired of going to the Home Depot, so I drew freehand arms on a piece of particle board I already had at home. I also had the idea to use the curved bit we cut off the footboards to add a bit of decoration to the bottom of the seat. Once those were all attached, we had a bench! And sadly, it was time for my dad to go home. Which left me with the job of staining it. Needless to say, I’m a bit of a procrastinator, so I waited till the last nice weekend in October to do it outside. It was a little chilly, and slightly rained on me, but I got two coats of beautiful Kona Brown stain on the bench.

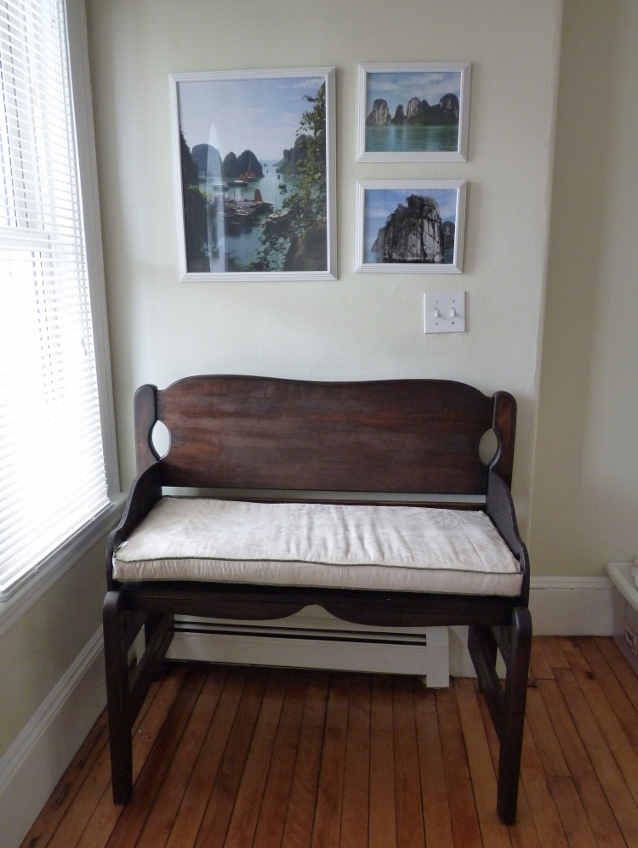
Shortly thereafter, I bought pretty purple fabric, the foam and cording to make the bench cushion. Once I got the fabric home though, I realized the purple, which did match what I have in the living room, blended right into the bench. So I decided to go out and get ivory fabric instead. This took me about 5 months to get around to. In the meantime, the bench worked great all through winter as a place to put on our boots, although not quite as comfy as it could be!

I finally made time to stop by the fabric store again, and lucked out by finding fabric that matched my pull-out couch for $2.99! Since I had all the supplies, I was able to get the cushion done on a Sunday afternoon. It was an easy box cushion, although I made it harder on myself by adding cording for a little decoration. I saw a post on Pinterest about wrapping the fabric around the cushion in one whole piece instead of cutting it, and that’s the idea I followed. I think that idea worked well for her because she didn’t use cording. I probably would have spent the same amount of time if I had cut strips, but oh well. I secured the back with Velcro instead of a zipper, because I didn’t want to struggle to put the foam into a 24” zipper hole. Plus, Velcro made the construction that much faster. Once it was finished, I wrapped the foam in batting for further cushioning and squeezed it into the new cover! Once it was on the bench I realized it is probably a little too big for the seat, but I like the way it looks, and it feels very nice to sit on!

Maybe one day I’ll actually make my projects all in one go, but even though this took me a long time to complete, I’m very happy with how it looks in our apartment, and I can see using it in future houses. Now I just need to find a coat hook with a mirror to put in the space next to it.